How to Make a Tanjore Painting: A Step by Step Guide From Our Studio

Written by
Swathi Katta
If you have ever stood in front of a Tanjore painting and wondered how anyone makes something so radiant, this guide is for you. We will walk you through the whole process, gently, the way we would if you were sitting beside us in the studio.
If you have ever stood in front of a Tanjore painting and wondered how anyone makes something so radiant, this guide is for you. Maybe you have wanted to try it yourself but felt a little scared to even begin. That feeling is normal. Almost every artist we have taught started exactly there, unsure of their hands, unsure if the gold and the stones were somehow beyond them. They were not. And they are not beyond you either.
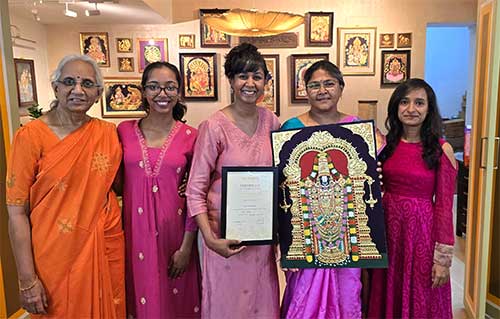
We have been making Tanjore paintings for more than 35 years, and teaching people to make their first one is one of our favourite things in the world. So here is the honest, complete walkthrough, the same steps our artists follow, explained in plain words. No skipped stages, no mystery.
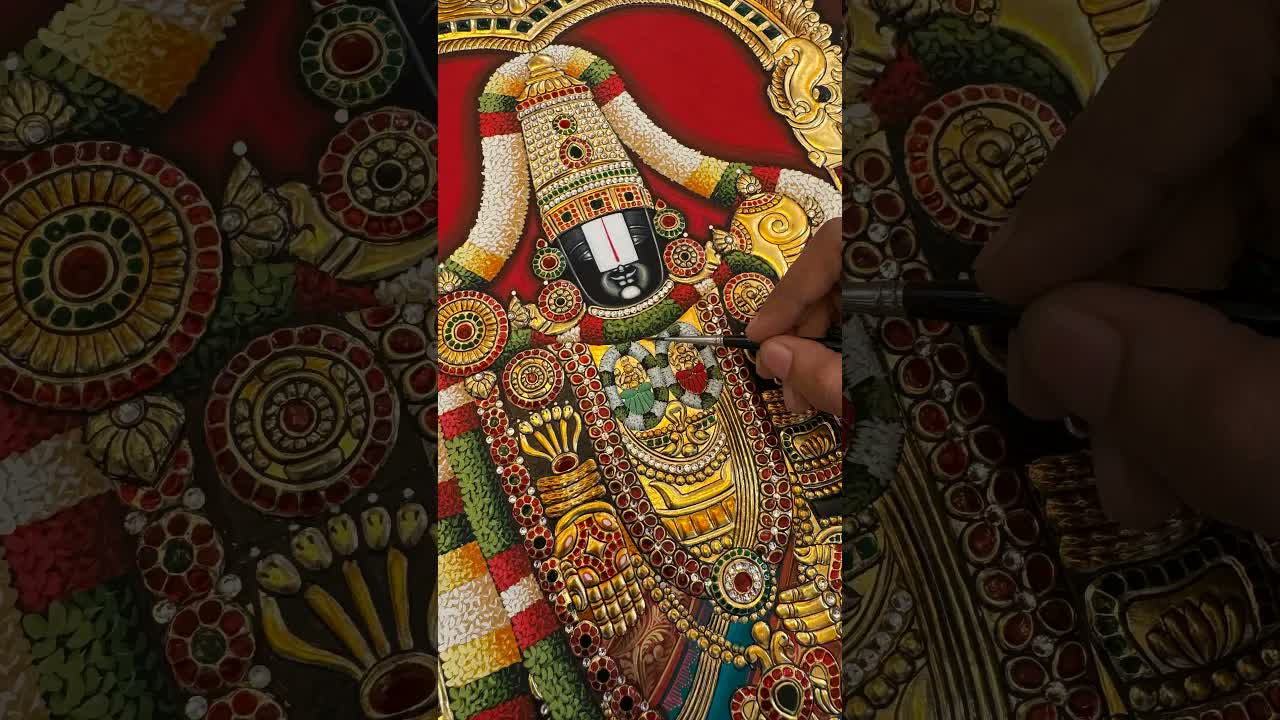
We also filmed our artists making a painting from start to finish, so you can watch the process alongside this guide.
What is a Tanjore painting (in one minute)
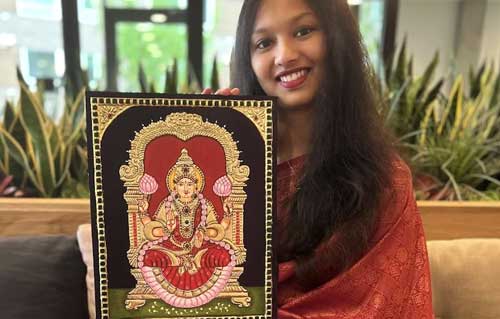
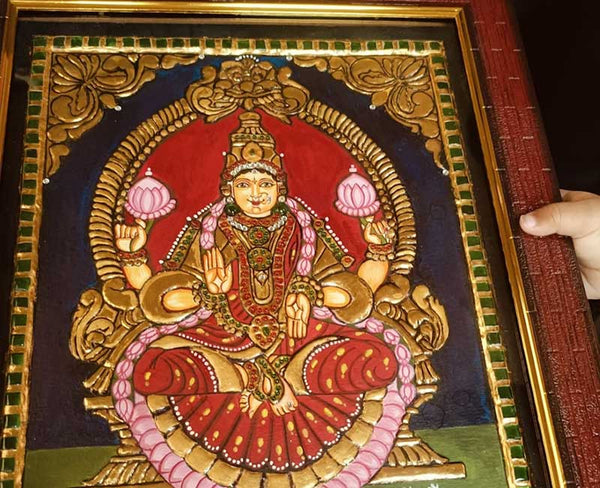
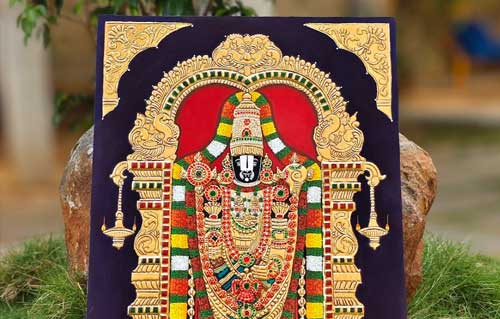
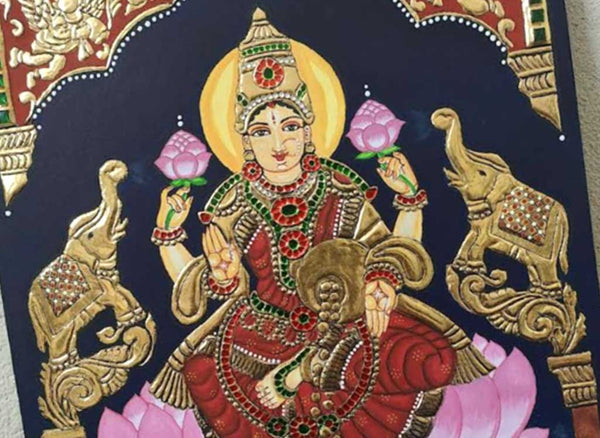
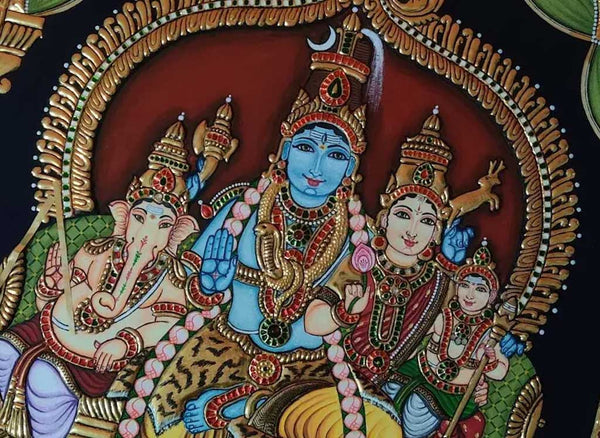
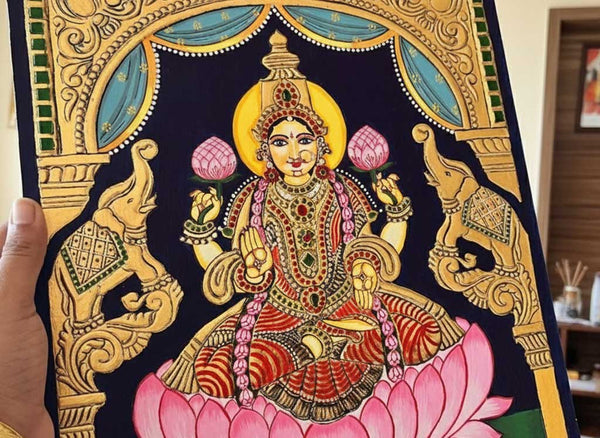
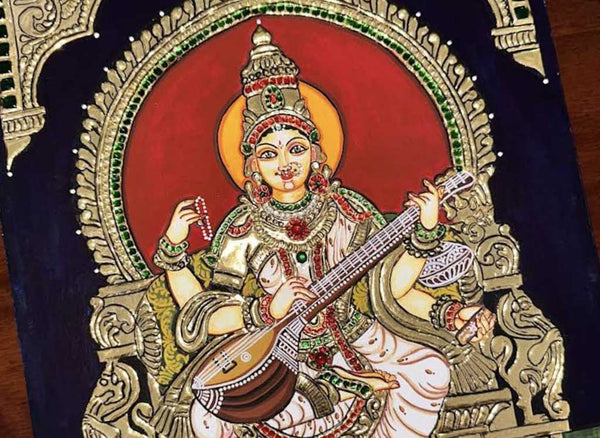
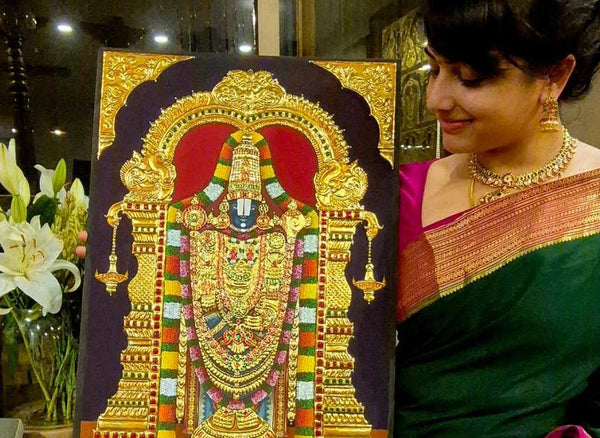
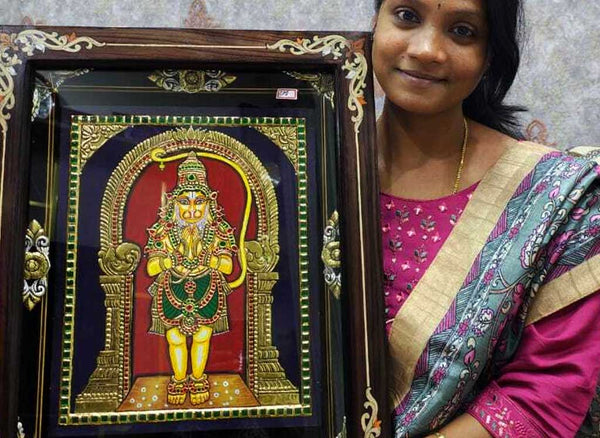
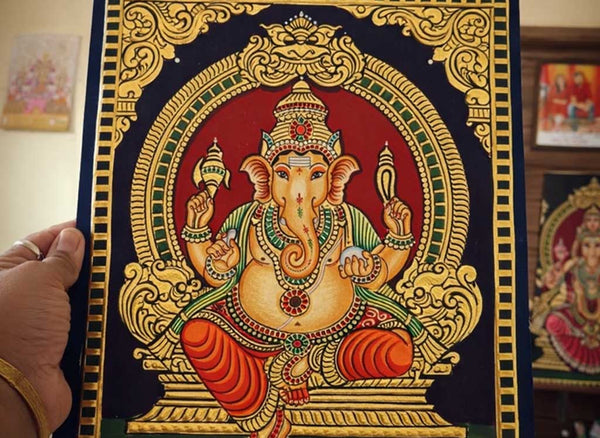
A Tanjore painting, or Thanjavur painting, is a traditional South Indian art form that goes back to the courts of Thanjavur in Tamil Nadu. Most Tanjore paintings show gods and goddesses, Lord Ganesha, Krishna, Lakshmi, Balaji, painted with deep devotion and a lot of warmth.
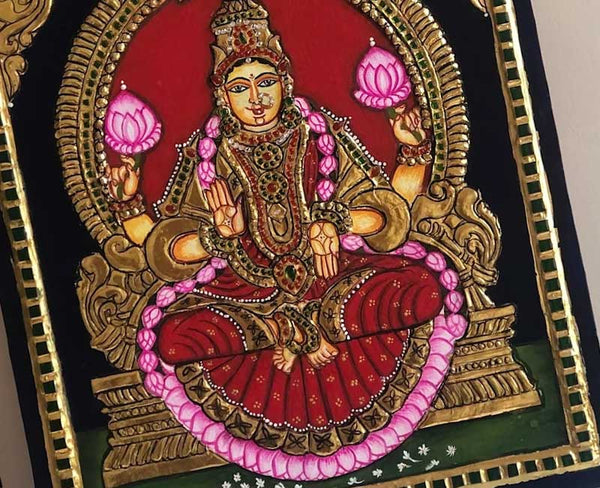
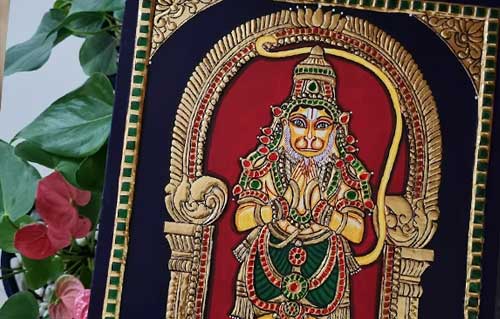
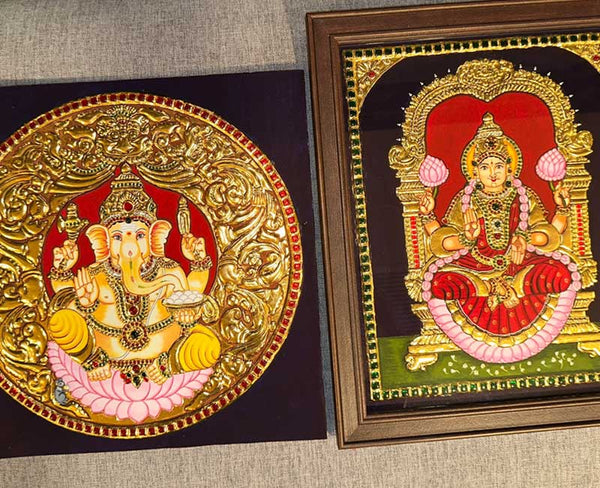
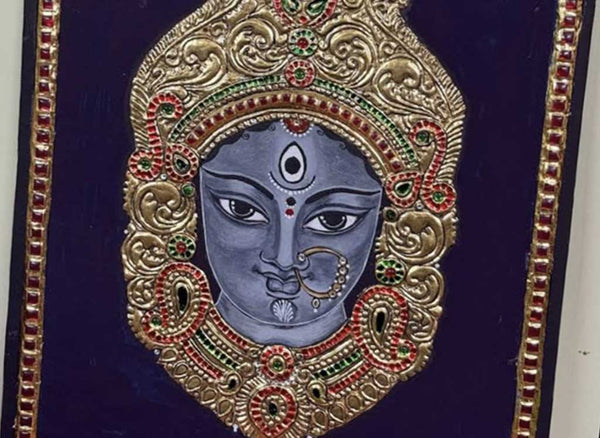
Three things make it instantly recognisable. First, the raised work, where parts of the design stand up from the surface like gentle embossing. Second, the real gold foil that sits on those raised areas and catches the light. And third, the rich, saturated colour and the small stones that make the whole piece glow. If you want to understand the art form more deeply before you start, our students share what it feels like in this piece on falling in love with making a Tanjore painting.
The 8 steps at a glance
Before we go into detail, here is the whole journey in order. Read it once so you know where you are headed.
- Choose and sketch your design on paper.
- Prepare the board by pasting cloth and applying a smooth base.
- Transfer the drawing onto the prepared board.
- Do the relief work (the raised mukku or gesso outline).
- Lay the gold foil over the raised areas.
- Set the stones into their places.
- Add colour to the figure and the background.
- Finish and frame the painting.
That is it. Eight steps. Each one is learnable, and the waiting between them matters more than any special talent.
What you will need: materials and tools
You do not need a full studio to start. You do need the right basics, because Tanjore painting uses a few materials that are specific to the craft. Here is the honest list.
- A base board. Traditionally a seasoned wood plank was used. Today most artists use plywood, which is easier to find and works beautifully. A small size, around 10 by 12 inches, is kind for a first painting.
- Muslin or thin cotton cloth to paste over the board. This gives the surface strength.
- Chalk powder and arabic gum to make the base coat and, later, the raised paste. The paste made from chalk powder and gum is often called mukku or gesso.
- Tracing materials (tracing paper and a pencil or a stencil) to move your drawing onto the board.
- Gold foil. Real 24 karat (24K) gold foil is the traditional choice. Imitation gold foil is a good, affordable option while you are learning.
- Kundan stones (small semi precious or glass stones) for the jewellery and borders.
- Colours. Poster colours, fabric colours or acrylics all work. Beginners often start with poster or fabric colours because they are forgiving.
- Brushes in a few sizes, including one very fine brush for outlining.
Honest note on cost. A simple starter set in India usually comes to a few thousand rupees, and most of that is a one time spend, since the board and stones and colours carry over to your next painting. If gathering all of this feels fiddly, our Tanjore painting material kit puts the right basics in one box so you can begin without second guessing every item.
Step 1: Choose and sketch your design
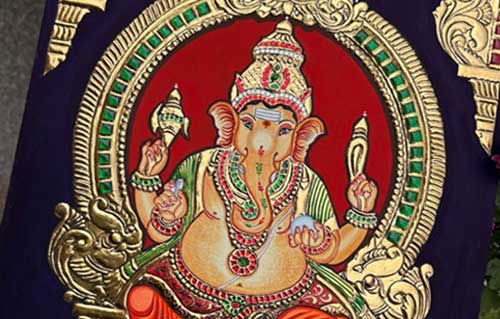
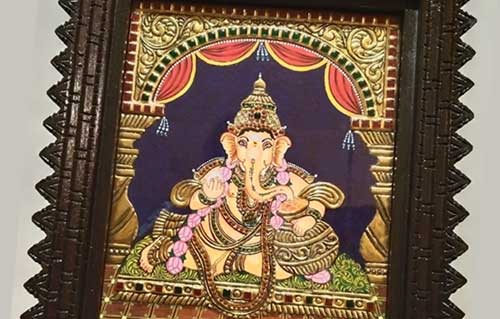
Start with a subject you love, because you will spend many hours with it. For a first painting, simpler is kinder. Lord Ganesha is a favourite first choice, with his clear, rounded shapes. Krishna and Lakshmi are lovely too. A single seated figure is far easier than a crowded scene, so give yourself that gift.
Sketch the outline on paper first, or trace a design you like. Keep the lines clean and the details modest for now. You are not trying to impress anyone. You are learning the feel of the form.
Step 2: Prepare the board
This step is quiet but important. Paste the muslin cloth smoothly over the plywood using a thin layer of the chalk and gum paste, pressing out any air or wrinkles. Let it dry fully.
Then apply the base coat, a smooth paste of chalk powder and arabic gum, across the whole board. Let it dry, then rub it gently smooth. Some artists add two or three thin coats for a very even surface. Do not rush this. A good base is what makes everything above it sit well, and drying takes as long as it takes.
Step 3: Transfer the drawing
Once the board is smooth and dry, transfer your outline onto it. You can use tracing paper, going over the lines so they press onto the base, or a stencil. Keep the drawing light and clear. This outline is your map for every step that follows, so take a minute to check that the proportions look right to your eye.
Step 4: The relief work (mukku and gesso)
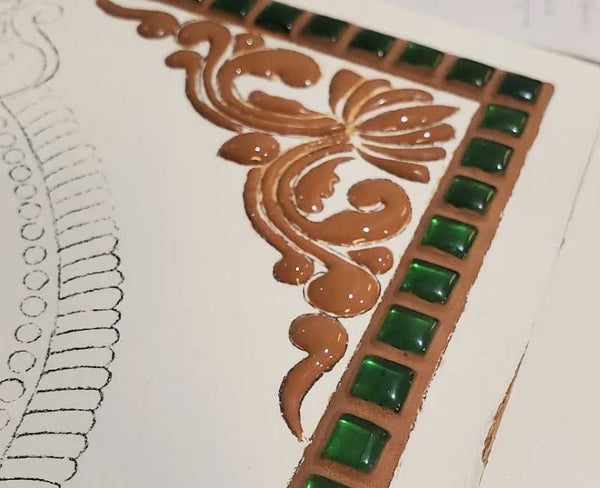
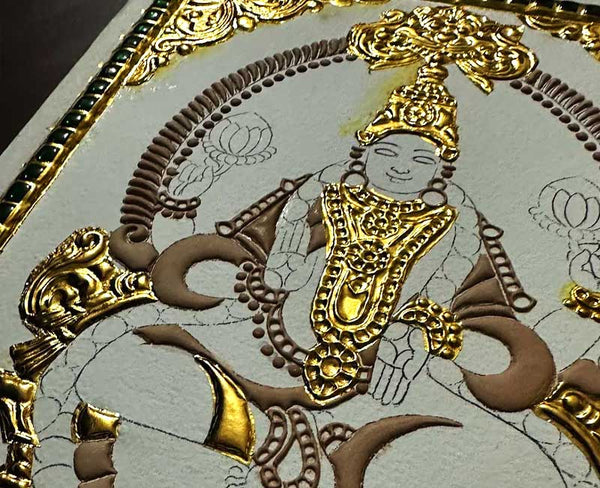
Here is the step that gives Tanjore painting its magic, and the step most quick tutorials skip. The relief work, or mukku work, is where you build up certain parts of the design so they stand slightly above the surface.
You make a thicker paste from chalk powder and arabic gum, and apply it along the areas you want raised. This is usually the jewellery, the crown, the borders, the pillars and the ornaments. Many artists pipe it through a small cone, a little like icing, to get a controlled raised line. You leave the face, the hands and the open background flat, so the raised gold later has somewhere to shine against.
Where to raise and where to leave flat is a judgement you build with practice. As a rule, think jewellery and architecture up, skin and sky flat. Let the relief dry completely before you touch it again. If your first lines are a little uneven, that is fine. Small imperfections are part of handmade art, and they soften once the gold goes on.
Step 5: Laying the gold foil
Now the part everyone waits for. Brush a light adhesive or gum onto the raised, dried relief. Then lay the gold foil over it, carefully, and press it down so it takes the shape of every ridge you built. Trim away the excess at the edges with a gentle hand.
Gold foil is delicate, so handle it slowly and try not to drag it, or it can tear. Work on a small area at a time. Real 24 karat (24K) gold gives a warm, deep shine that lasts for generations. Imitation foil is brighter and cheaper, and it is a perfectly good way to learn before you invest in real gold. Neither choice is wrong. One is for practice and budget, the other for a piece you want to keep for a lifetime.
Step 6: Setting the stones
With the gold in place, set your kundan stones into the jewellery and borders. Use a dab of strong adhesive and press each stone until it sits flush and holds. Take your time placing them so they follow the lines of the design rather than fighting it.
A gentle word on restraint. It is tempting to add stones everywhere, but the most elegant Tanjore paintings let the gold breathe. Place stones where they belong, on the crown, the necklace, the borders, and let the rest stay calm. Balance is what makes the piece feel graceful instead of busy.
Step 7: Adding colour
Now the painting comes alive. Fill in the figure and the background with your colours, working from the larger areas to the smaller ones. Keep your strokes smooth and let each colour dry before you layer near it.
The face is where devotion shows. Take special care shading the face, the eyes and the garments, building soft depth so the deity feels present and serene. This is slow, tender work, and it is often the part our students say they love the most. If a colour goes slightly wrong, let it dry and gently correct it. Nothing here is beyond fixing.
Step 8: Finishing and framing
Almost there. Go over the fine outlines with your thinnest brush to sharpen the details and bring the whole face together. Check the gold, the stones and the edges. When everything is dry and settled, seal the painting if you wish, and frame it, traditionally under glass, to protect the gold and colour for years.
To care for your finished painting, keep it away from direct damp and harsh sunlight, and dust the glass gently. A well made Tanjore painting can stay beautiful for generations, which is part of why the art has lasted so long.
Common beginner mistakes (and how to avoid them)
Almost every first timer meets the same few bumps. Knowing them ahead of time makes the whole thing easier.
- Rushing the drying stages. This is the big one. The base, the relief and the colours all need time. When you rush, layers lift or crack. Patience really is the main skill here, more than a steady hand.
- Overloading gold and stones. More is not richer. Let the gold have space, and place stones with intention. Restraint reads as elegance.
- Uneven relief work. Your first raised lines may wobble. Practise the paste on a spare board first, and remember that gold and colour forgive a lot.
None of these mean you are doing it wrong. They mean you are learning, exactly the way every artist before you did.
Can you really learn this at home?
Honestly? Yes, for a simple first piece, if you are willing to be patient with the drying and gentle with yourself. Plenty of people make a lovely first Tanjore painting at home with good materials and a clear guide like this one.
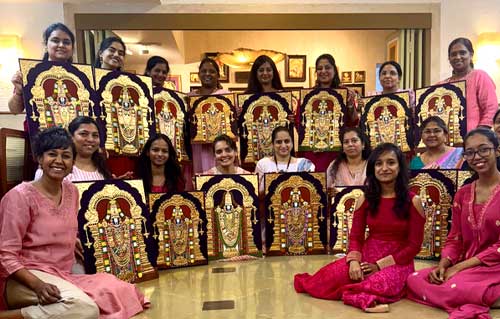
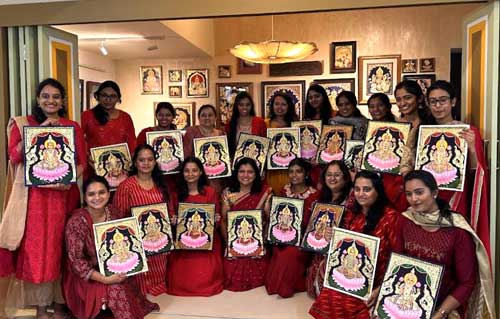
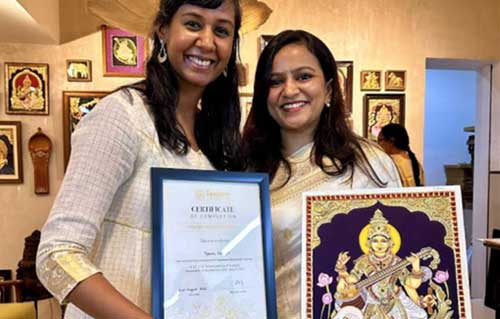
That said, a few stages, especially the relief work and the gold foil, are much easier to learn when someone shows you in real time and catches small things before they set. That is exactly why we teach. If you would like guidance, our Tanjore painting classes take you through a full painting step by step, online or in our studio, and our DIY Tanjore painting video course lets you learn at your own pace whenever it suits you. Many of our students had never held a brush before. You can read how a few of them got on in these three student stories and in this beginner's journey.
Whichever way you choose, learning on your own or with us, the art is meant for you. We can't wait for you to fall in love with it the way we did.
Frequently asked questions
How long does it take to make a Tanjore painting?
For a beginner, a simple painting usually takes anywhere from several days to a couple of weeks. Most of that time is waiting, since the base, the relief and the colours each need to dry properly before the next step. The actual hands on work is less than the calendar suggests, so please do not worry if it feels slow. Slow is normal and slow is good.
Is Tanjore painting hard for beginners?
Each individual step is learnable, and you do not need to be able to draw well to start. Patience matters more than natural talent. Begin with a simple subject, take the drying stages seriously, and you will surprise yourself.
What materials do I need to start?
At minimum, a plywood board, muslin cloth, chalk powder and arabic gum for the base and relief, tracing materials, gold foil, a few kundan stones, colours and brushes. If sourcing each item feels like a lot, a ready starter kit gathers the essentials in one place so you can begin sooner.
Can I use imitation gold foil instead of real gold?
Yes. Imitation gold foil is a great choice while you are learning or working to a budget. It is brighter and far cheaper. Real 24 karat (24K) gold gives a warmer, deeper shine and lasts for generations, so many artists move to it once they feel confident. Both are valid, so choose what fits this painting.
Do I need to join a class, or can I self-learn?
Both work. A careful guide like this one is enough for a simple first piece at home. A class or a video course shortens the learning curve, especially for the relief and gold steps, and gives you someone to ask when you get stuck. It comes down to how much support you would like.
How much does it cost to make one at home?
A basic starter set in India usually comes to a few thousand rupees. The good news is that much of it is a one time cost, because the board, stones, colours and brushes carry over to your next painting, so each painting after the first costs less.
More blog articles
What is Tanjore Painting? A Complete Guide
A clear, first-hand guide to Tanjore painting: what it is, how it is made, and why it glows.
Tanjore Painting for Beginners: Where to Start
A gentle starting point for complete beginners, even if you have never held a brush.
How to Make a Tanjore Painting: Step by Step
The real step-by-step process we teach, from a prepared board to the final face.
What our students say
Hear from students who've learned the art of Tanjore painting with us.