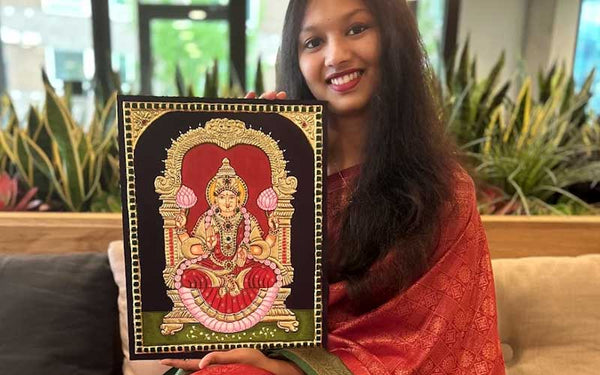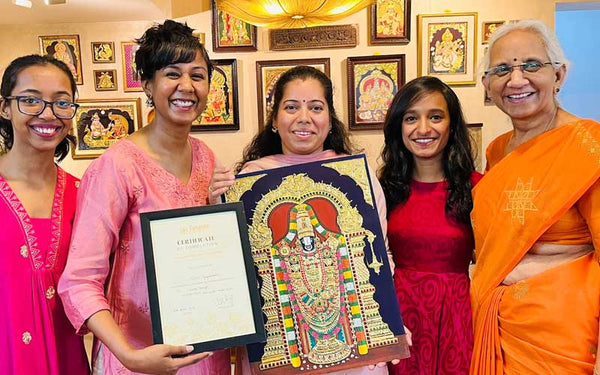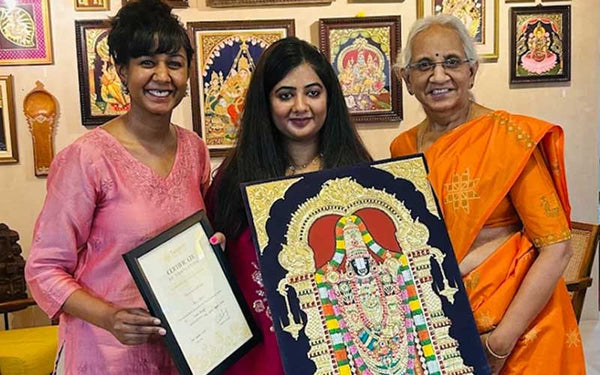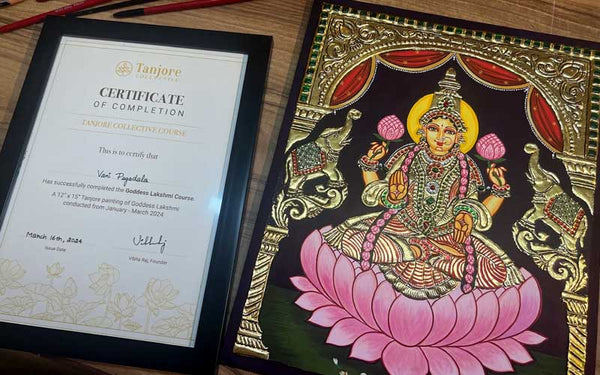
How to Make a Tanjore Painting: Step by Step
Written by
Vibha Raj
The full making of a Tanjore painting, in the order we actually teach it in our courses.
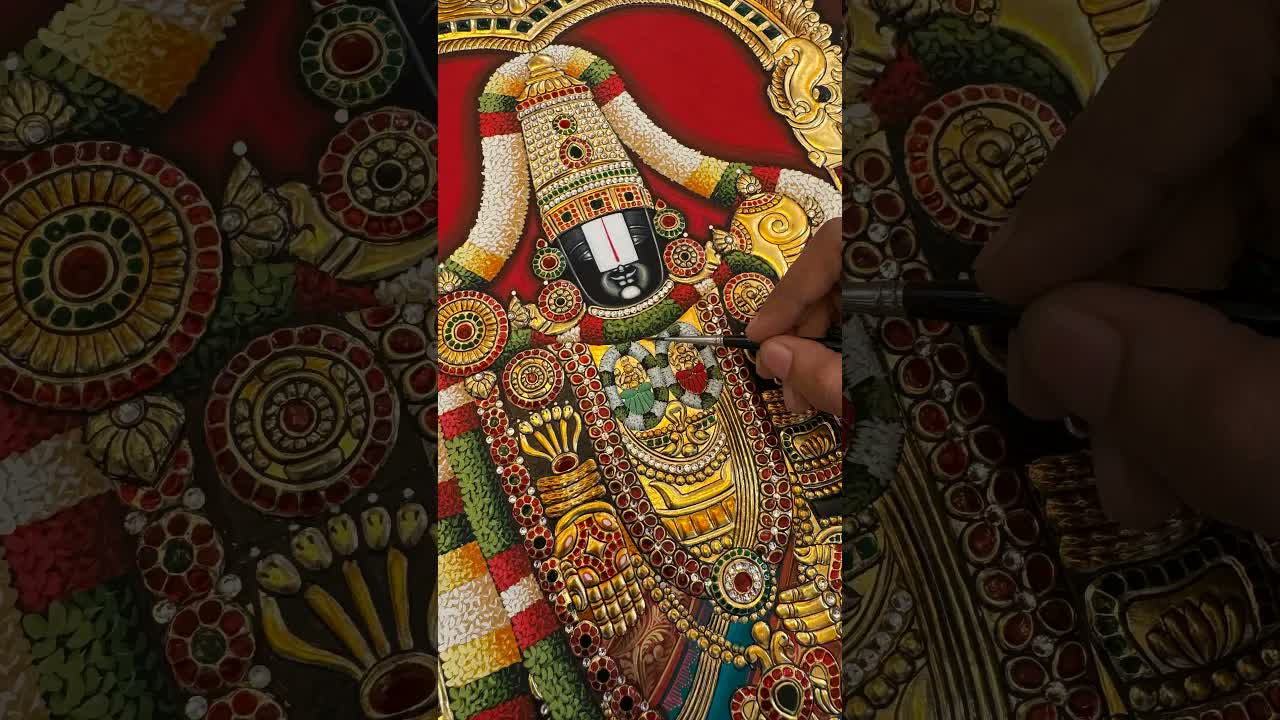
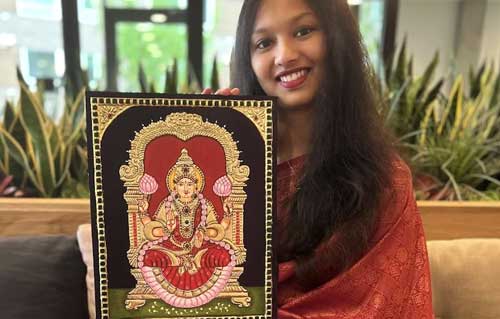
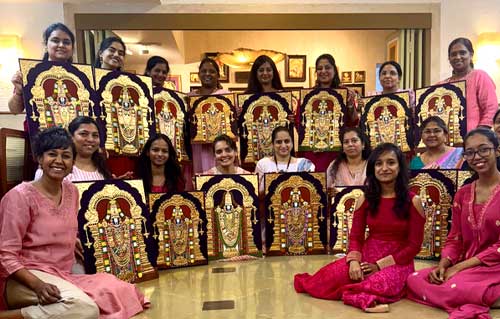
Making a Tanjore painting is a sequence, not a single sitting. You prepare the board, sketch the deity, build the ornaments in gesso, set the stones, lay the gold, and only then paint, saving the face for last. Each stage has to be complete and dry before the next begins, which is why a single painting is built over several weeks rather than rushed in a day. Here is the process exactly as we teach it, refined over 40 years and thousands of students.
One thing worth saying at the start: you do not need to know how to draw to do this. Our kits arrive with the board already sketched, so remote learners can skip sketch corrections and begin with confidence. What the process really asks for is patience and a willingness to work in order.
1. Prepare the board
The base, usually plywood, is prepared using chalk powder and Arabic gum. This creates a smooth, sound and slightly absorbent surface that will hold everything to come. A well prepared board is the foundation of the whole painting, because any unevenness here shows through later under the gold. Our kits ship the board pre sketched, so this preparation and the drawing are already done for you.
2. Transfer the sketch
The deity's outline is transferred onto the prepared board. Getting the proportion right at this stage sets up every later step, because the gesso, the stones and the gold all follow these lines. This is why we sketch the boards for our students in advance: it removes the single biggest source of early frustration and lets you focus on learning the techniques that make Tanjore painting unique.
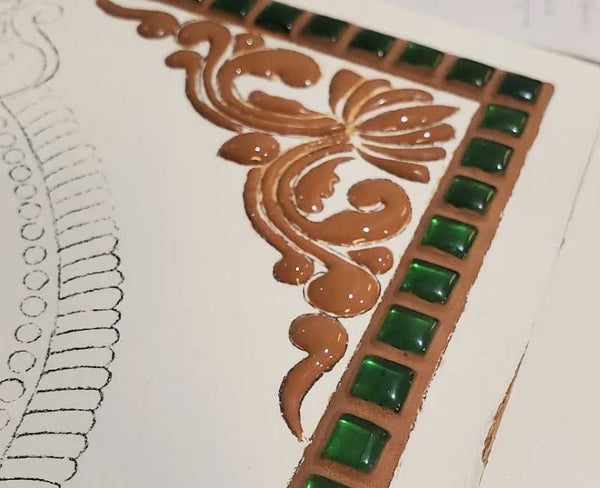
3. Build the gesso relief, or embossing
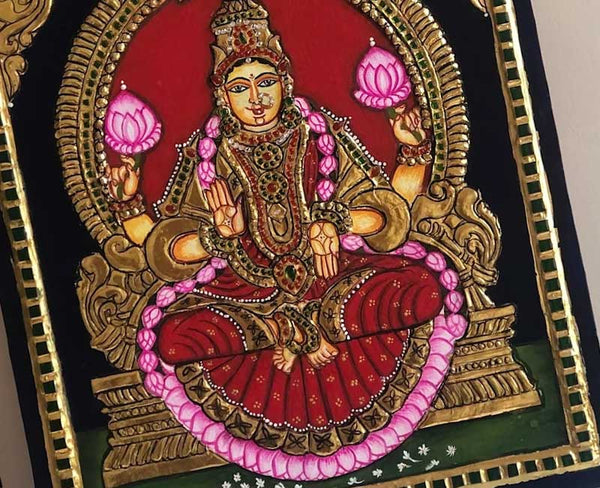
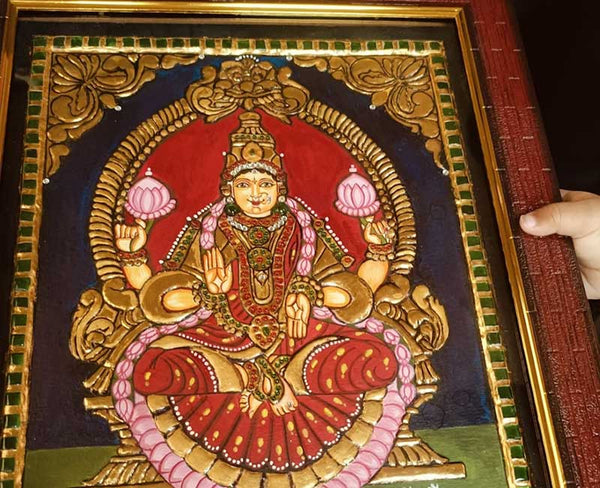
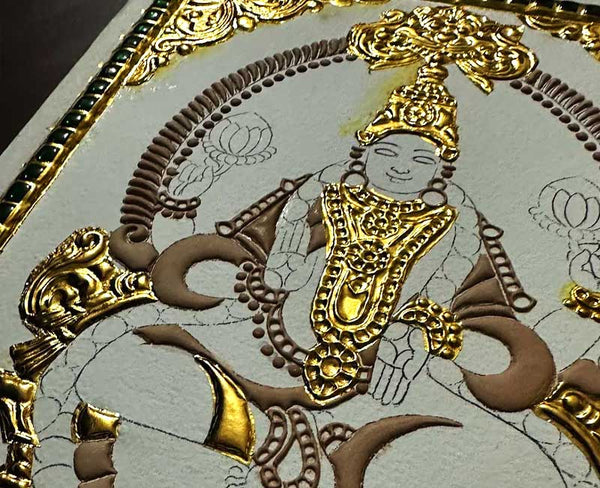
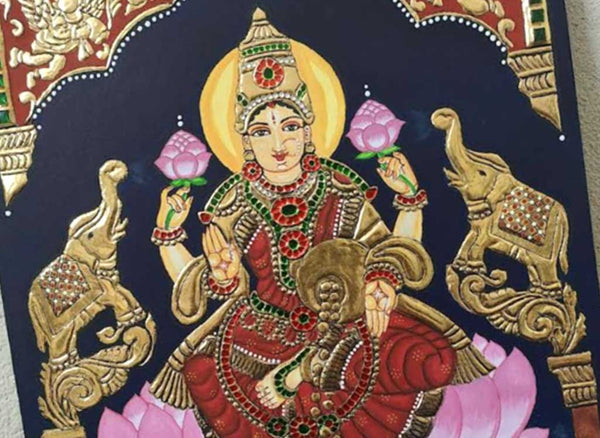
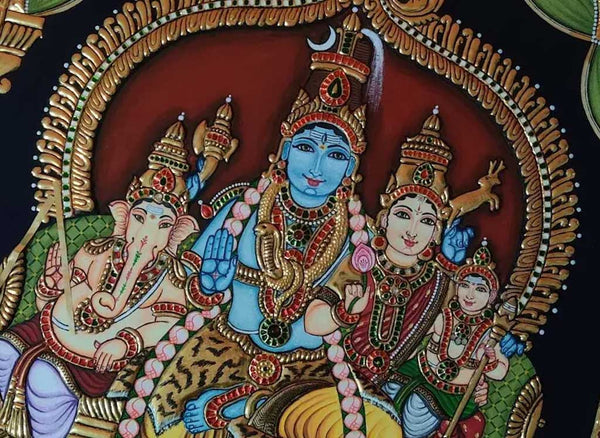
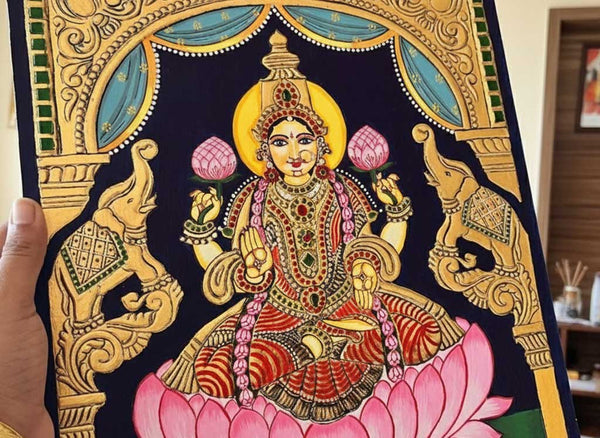
A paste made from chalk powder and Arabic gum is built up into a low relief for the arch, the crown and the jewellery, so these areas stand slightly proud of the surface. This embossing is what gives a Tanjore painting its three dimensional richness, and it is the step that most clearly separates this art from flat painting. It usually takes two or three sessions, building the relief up gradually and letting it dry, because rushing the gesso leads to cracks.
4. Set the kundan stones
Kundan stones are placed into the relief for jewelled ornamentation. This is careful, satisfying work, positioning each stone along the crown and jewellery so it will catch the light in the finished piece. It typically takes about two sessions. Kundan stones are an integral part of Tanjore paintings and a large part of why the deity ends up looking so regally adorned.
5. Apply the 24 karat gold foil
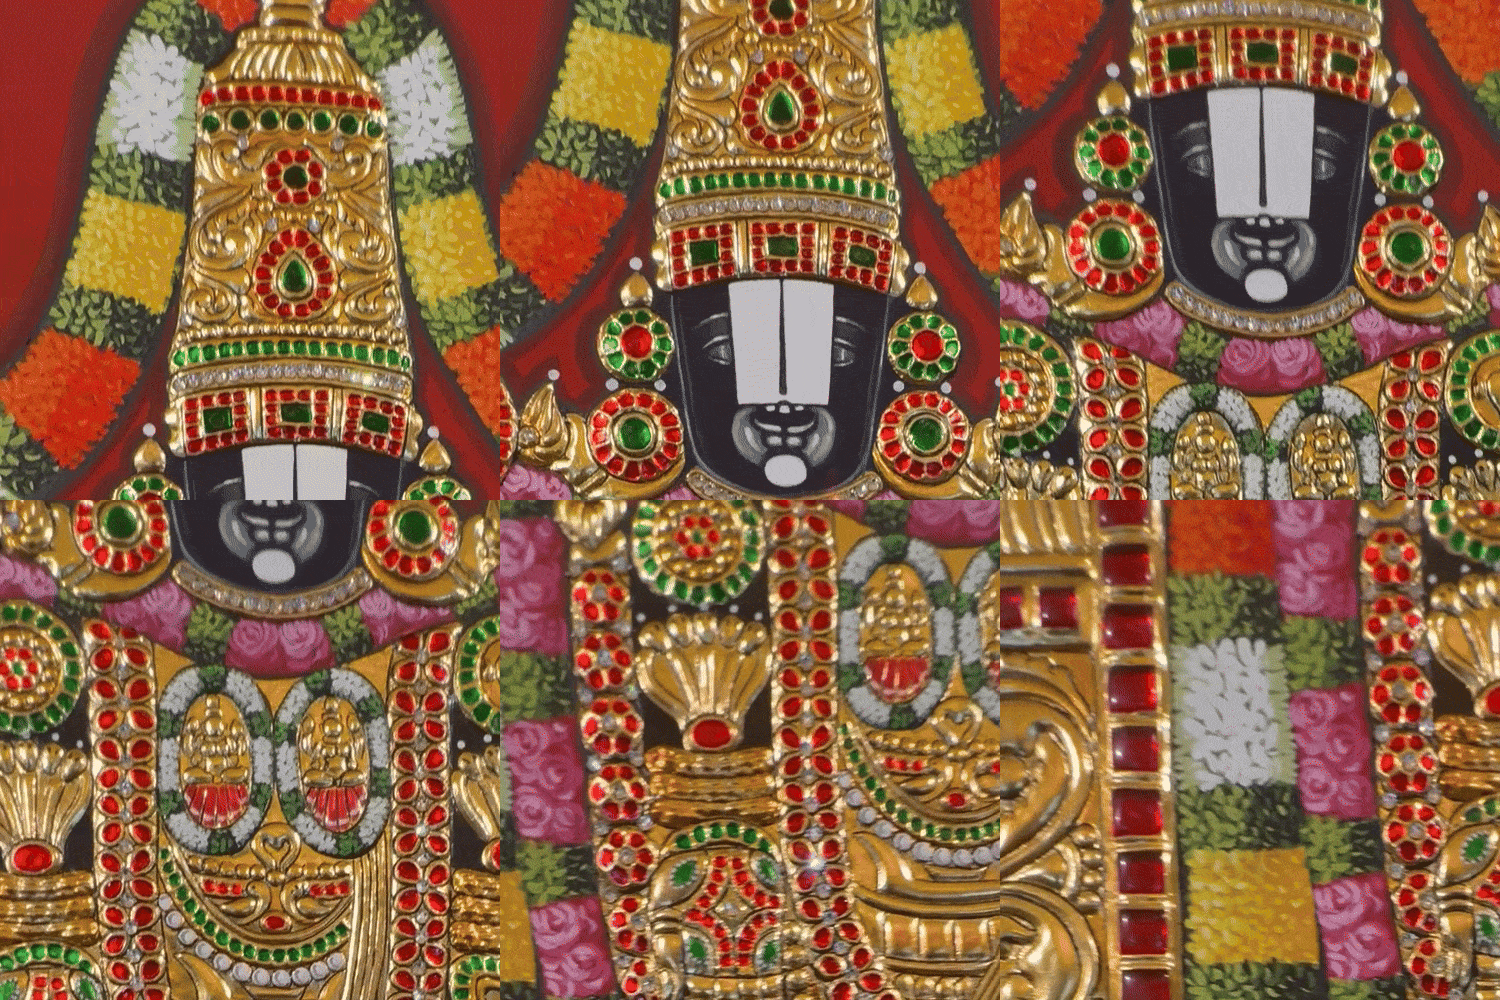
Real gold leaf is laid over the embossed areas across two or three sessions. Purity matters here, because it decides both the shine and the longevity of the finished piece, which is why we use 24 karat gold rather than imitation. The Arabic gum from the earlier steps also helps the foil adhere to the board. This is the stage most students fall in love with, watching the crown and ornaments turn to gold. To understand the materials at each step in more detail, see Tanjore painting materials explained.
6. Introduce colour and mix your palette
With the gold in place, colour comes in. You learn the palette and how to mix it, so the deity's garments and the background come alive around the gold. Tanjore painting favours warm, saturated colours that sit richly against the metal, and learning to mix them consistently is a skill in itself.
7. Paint the deity
The body, garments and background are painted over two or three sessions, building depth patiently and layer by layer. This is where the composition really comes together and the figure gains its rounded, serene fullness. Working in unhurried layers is what gives the colour its depth rather than a flat, single coat look.
8. Paint the face
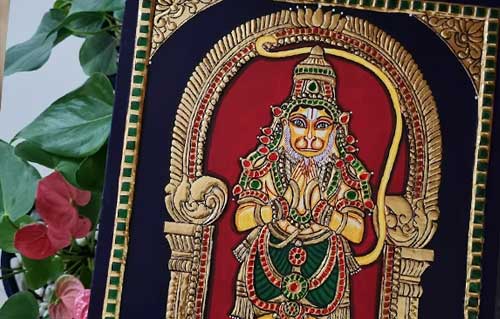
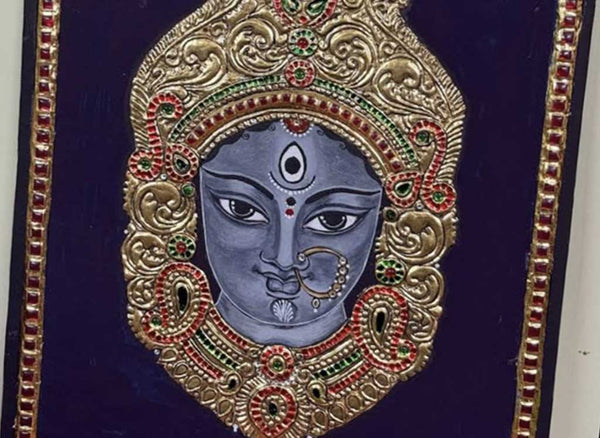
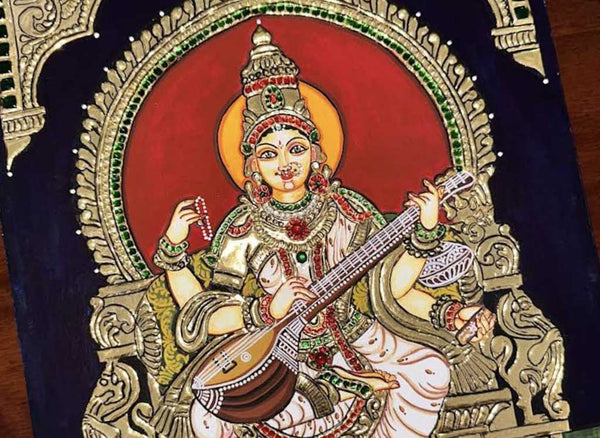
The face is painted last, and it is the most sacred and delicate stage of the entire process. As our students often say, painting the face of the Devi is the most sacred part of the journey. There is no rushing this step. The expression of the deity is what the whole painting has been building toward, and it rewards a calm hand and full attention.
9. Add the Swarovski crystals and final touches
Original Swarovski crystals add the final sparkle, the kind you can see from across a room. After that comes fine detailing and a careful cleanup of the surface. Once the painting is complete, framing protects it and finishes the presentation, ready for the wall or the pooja room.
How long does the whole thing take?
A course painting takes about 6.5 weeks of guided twice weekly sessions from start to finish. That pace is deliberate. Each stage needs time to dry and be done properly, and the patient rhythm is part of what students find so calming about the work. Larger and more advanced pieces naturally take longer.
Common mistakes to avoid
Over four decades of teaching, we see the same few missteps trip up first attempts, and all of them are easy to avoid once you know them. The most common is rushing the gesso. If the relief is built too thickly at once, or is not allowed to dry between layers, it can crack later, so patience here pays off directly in the finished piece. The second is working out of order. Every stage in a Tanjore painting depends on the one before it being complete and dry, and skipping ahead almost always creates problems that are hard to undo. The third is trying to do fine work, especially the face, with poor brushes. Good, fine tipped brushes are what let you achieve the finesse the face demands, and no amount of skill fully makes up for the wrong tool. Keep these three in mind and your first painting will go far more smoothly.
Caring for the finished painting
Once your painting is complete and framed, a little care keeps it looking its best for years. Keep it out of direct, prolonged sunlight and away from damp, dust it gently rather than wiping it, and let the frame protect the surface. A hand made Tanjore painting, cared for simply, easily lasts for generations, which is exactly why these pieces so often become family heirlooms.
Before you begin: setting up your space
A little preparation makes the whole process smoother and more enjoyable. You want a clean, well lit table where you can leave your board undisturbed between sessions, because the painting is built up in stages with drying time in between and you will not want to be moving it around. Natural light is ideal, both for judging colour and for the fine work of the face. Keep your materials organised and within easy reach: the gold foil handled in a still spot away from draughts, the chalk powder and Arabic gum kept dry, the brushes rinsed and stored tip up. None of this is elaborate, but a settled, orderly space is part of what makes Tanjore painting the calming practice it is, and it quietly removes the small frustrations that would otherwise interrupt the work.
Why the order matters so much
If there is one principle that governs the whole process, it is that each stage depends completely on the one before it. The gesso can only be built on a properly prepared board. The stones can only be set into cured gesso relief. The gold can only be laid once the relief and stones are in place. The colour goes on around the gold, and the face is painted last of all. Skipping ahead, or moving on before a stage is truly dry, is the single most common way a painting goes wrong, because a problem in an early layer becomes very hard to fix once later layers sit on top of it. Understanding this is what turns the sequence from a list of steps into something that makes intuitive sense: you are building a painting from the ground up, and each layer has to be sound before the next is trusted to it.
A closer look at the gold stage
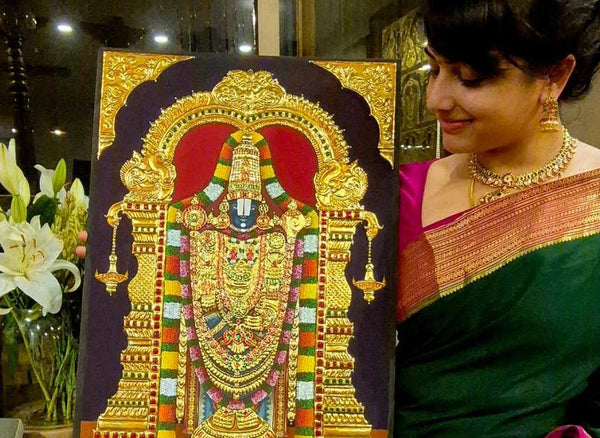
Since the gold is the heart of the piece, it is worth understanding the stage in a little more detail. The 24 karat foil is extremely thin and light, so it is handled in a still space, and the Arabic gum from the earlier work helps it adhere to the raised relief. The foil is laid over the embossed areas and pressed down gently so it takes the shape of the relief beneath, following every rise of the crown and the jewellery. Done well, the gold does not sit flat like a sticker but wraps the three dimensional form, which is exactly why the finished ornaments look as though they are made of gold rather than merely painted gold. It usually takes two or three sessions to complete, and it is the stage students most often describe as the moment the painting truly comes alive under their hands.
What patience gives the finished piece
People often ask why a Tanjore painting cannot simply be made faster, and the honest answer is that the slowness is not a limitation, it is the method. The gesso needs time to dry so the relief does not crack. The gold needs an unhurried, still hand to lay cleanly. The colour gains its depth from being built in layers rather than rushed in a single coat. And the face, the most sacred stage, rewards a calm and unhurried approach more than any other part of the work. A painting made patiently, over its natural six and a half weeks or more, simply looks and lasts better than one that is hurried, and the rhythm of that patient work is exactly what so many students come to treasure about the craft.
Choosing your first subject
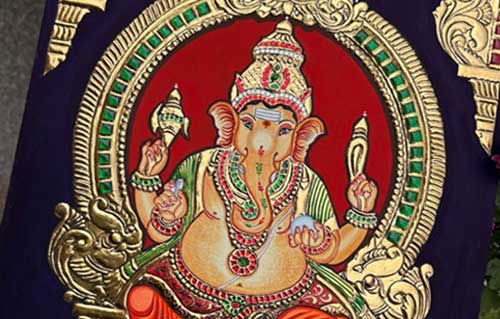
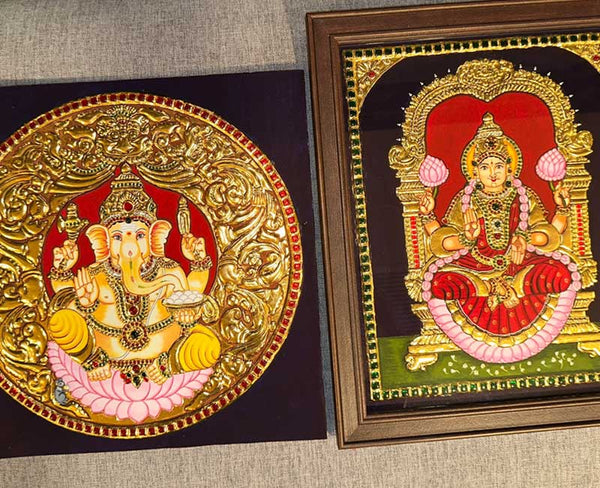
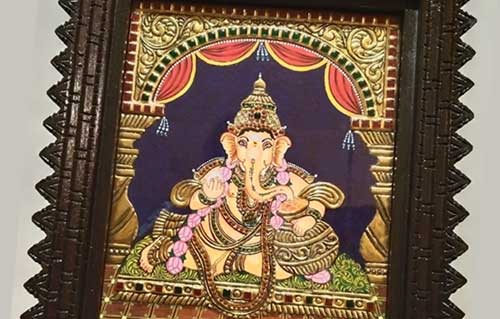
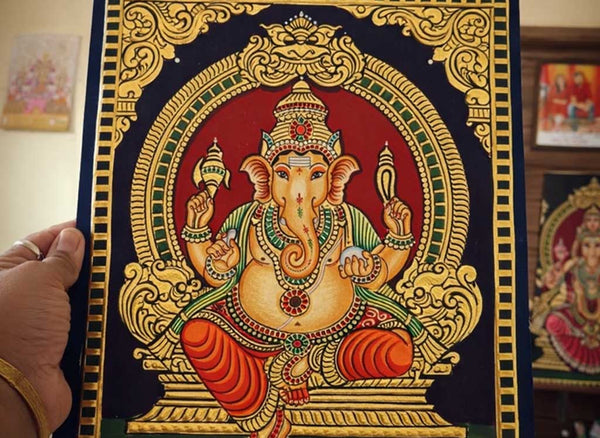
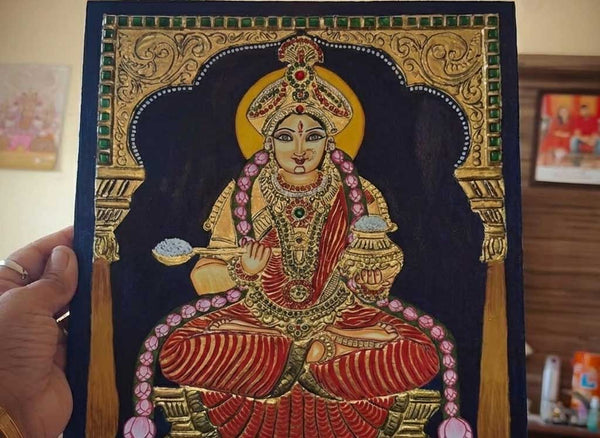
The subject you choose shapes how your first painting feels to make. Many beginners start with Ganesha, both for his significance as the remover of obstacles at the start of any new venture and because his rounded form is forgiving for a first attempt. Lakshmi and Saraswati are gentle, graceful choices as well, and very popular for the home. What matters most is that you feel a genuine connection to the deity, because that bond is what carries you through the more patient stretches of the gesso and the gold. For more on choosing a subject and starting out in general, see our guide to Tanjore painting for beginners.
Framing the finished painting
Once the painting is complete, framing is the final step that both protects it and presents it well. A good frame shields the gold, the relief and the stones from dust and handling, and finishes the piece so it is ready for the wall or the pooja room. Many people choose a frame that complements the richness of the gold without competing with it. With the painting framed and cared for, kept out of direct sunlight and damp and dusted gently rather than wiped, it will hold its glow for generations, which is exactly how a hand made Tanjore painting comes to be a family heirloom.
Frequently asked questions
How long does a Tanjore painting take to make?
A course painting takes about 6.5 weeks of twice weekly sessions. Larger, advanced pieces run longer.
Do I need to know how to draw?
No. Our kits ship pre sketched, and every step is taught in order, so beginners finish a real painting.
What is gesso in Tanjore painting?
Gesso is the embossing paste, made from chalk powder and Arabic gum, that builds the raised relief under the gold and stones.
Why is the face painted last?
The face is the most sacred and delicate part of the painting. Leaving it for last means you approach it with the whole composition already in place and full attention to spare.
New to all this? Start with what is Tanjore painting and the beginner's guide, then pick a format in our comparison of online, studio and DIY classes.
More blog articles
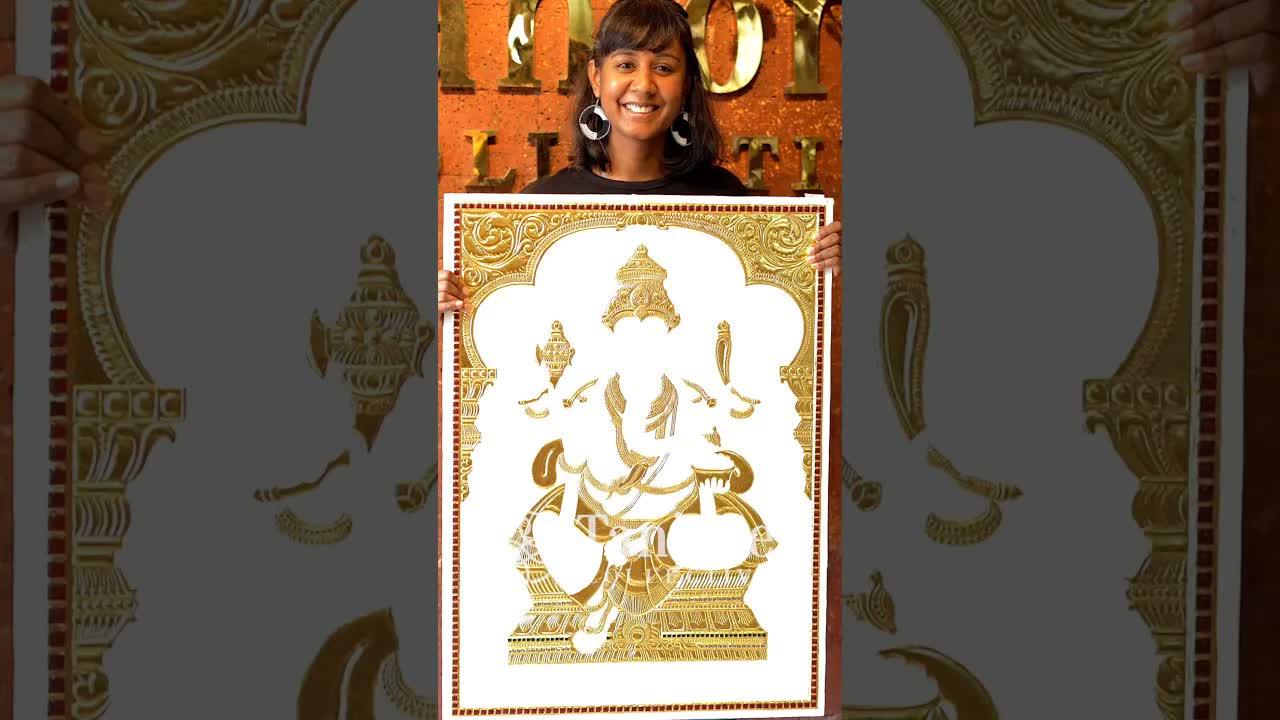
What is Tanjore Painting? A Complete Guide
A clear, first-hand guide to Tanjore painting: what it is, how it is made, and why it glows.
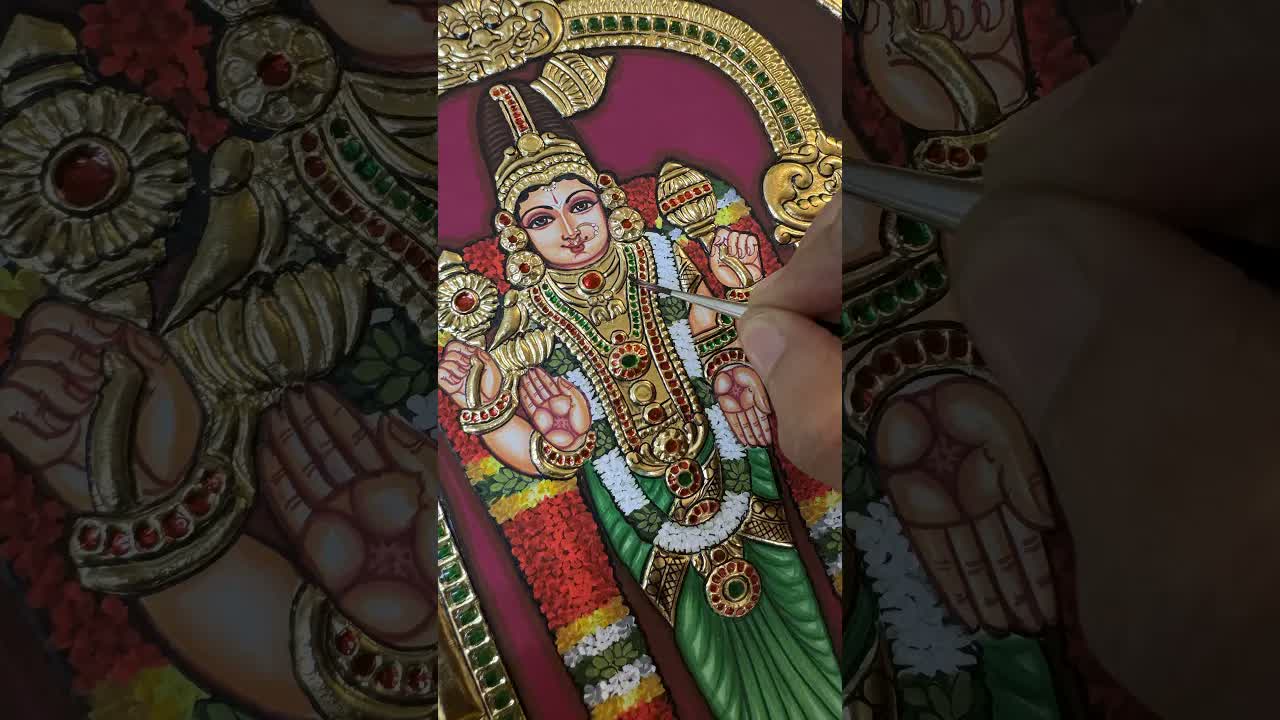
Tanjore Painting for Beginners: Where to Start
A gentle starting point for complete beginners, even if you have never held a brush.
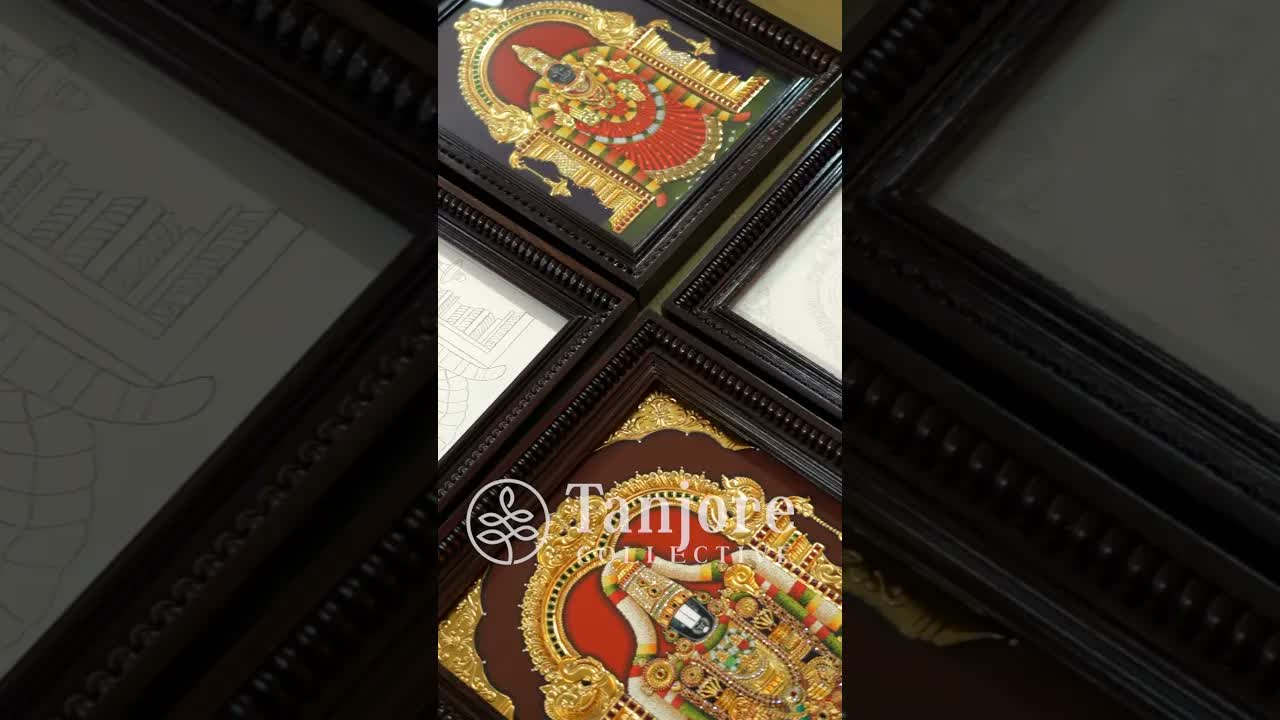
Tanjore Painting Materials Explained
What goes into a Tanjore painting, and what each material actually does.
What our students say
Hear from students who've learned the art of Tanjore painting with us.